Lesson 7: Server Submission
🏳️ Haven't completed the previous lesson?
No worries! You can pickup from here:
git checkout tags/lesson-7
In this lesson, we'll enhance the submission process to handle both offline storage and online server submission. We'll set up a JSON server to simulate a backend API and modify our Review page to automatically submit data to the server when online, while gracefully falling back to local storage when offline.
Getting Started
Before we begin, make sure you have completed the previous lessons and have the development server running. We'll be working primarily with the Review page submission logic and setting up a mock backend server.
Step 1: Setting Up the JSON Server
We'll use json-server to create a mock REST API that simulates a real backend server for testing online submission.
1.1: Understanding the Server Setup
The project already includes the necessary configuration for running a JSON server:
json-server has already been installed as a development dependency. Here is the command for your reference:
npm install --save-dev json-server
Package.json script:
{
  "scripts": {
    "server": "json-server --watch db.json --port 3002"
  }
}
Database file:
{
  "trips": []
}
1.2: Start the JSON Server
Open a new terminal window (keep your development server running in the original terminal) and run:
npm run server
You should see output similar to:
JSON Server started on PORT :3002
Press CTRL-C to stop
Watching db.json...

Index:
http://localhost:3002/

Static files:
Serving ./public directory if it exists

Endpoints:
http://localhost:3002/trips
Understanding the Setup:
- Port 3002: The server runs on a different port than your React app (3000) to avoid conflicts
- Watch mode: The server automatically reloads when
db.jsonchanges - REST endpoints: Automatically creates GET, POST, PUT, DELETE endpoints for the
tripsresource
The React app can communicate with the JSON server through a proxy configuration in vite.config.js:
server: {
  open: true,
  port: 3000,
  proxy: {
    "/api": {
      target: "http://localhost:3002",
      changeOrigin: true,
      rewrite: (path) => path.replace(/^\/api/, ""),
    },
  },
},
How the Proxy Works:
- Request: When your React app makes a request to
/api/trips - Proxy intercepts: Vite development server catches requests starting with
/api - Rewrites URL: Removes
/apiprefix, so/api/tripsbecomes/trips - Forwards: Sends the request to
http://localhost:3002/trips(JSON server) - Response: JSON server response is sent back to your React app
This allows your frontend to use /api/trips in fetch calls while the actual JSON server runs on a different port without CORS issues.
Step 2: Understanding Server Submission Logic
The Review page needs to detect whether the user is online or offline and handle submission accordingly.
2.1: Current Submission Logic
Let's examine the current submission logic in the Review page:
const handleSubmit = async () => {
  if (!trip) return;

  const tripStore = app.stores[STORE_NAMES.TRIP_STORE];
  const tripCollection = tripStore.getCollection(COLLECTION_NAMES.TRIP_COLLECTION);

  try {
    const finalStatus = isOffline ? "Not Submitted" : "submitted";

    await tripCollection.update({
      id: trip.id,
      status: finalStatus,
      step: 4,
    });

    navigate(isOffline ? "/offline-confirm" : "/online-confirm");
  } catch (error) {
    console.error("Error submitting trip:", error);
    setError("Failed to submit trip. Please try again.");
  }
};
Current Behavior:
- Offline: Sets status to "Not Submitted" and saves locally
- Online: Sets status to "submitted" but only saves locally
- Missing: Actual server submission when online
2.2: Enhanced Submission Strategy
We need to modify this logic to actually submit to the server when online:
- Check online status using
useOfflineStatus - If offline: Save locally with "Not Submitted" status
- If online: Submit to server AND save locally with "submitted" status
- Handle errors: Fall back to offline mode if server submission fails
Step 3: Implementing Server Submission
We'll break the server submission implementation into smaller, manageable steps to make it easier to follow along.
3.1: Add Basic Error Handling Structure
First, let's replace the simple submission logic with a structure that handles offline and online cases separately. We'll add try/catch blocks for proper error handling:
const handleSubmit = async () => {
  if (!trip) return;

  const tripStore = app.stores[STORE_NAMES.TRIP_STORE];
  const tripCollection = tripStore.getCollection(COLLECTION_NAMES.TRIP_COLLECTION);

   try {
    const finalStatus = isOffline ? "Not Submitted" : "submitted";

    await tripCollection.update({
      id: trip.id,
      status: finalStatus,
      step: 4,
    });

    navigate(isOffline ? "/offline-confirm" : "/online-confirm");
  } catch (error) {
    console.error("Error submitting trip:", error);
    setError("Failed to submit trip. Please try again.");
  }
  if (isOffline) {
    // Offline: Save status as "Not Submitted" locally
    // We'll implement this in the next step
  } else {
    // Online: Attempt to submit to the backend
    // We'll implement this in subsequent steps
  }
};
What We're Setting Up:
- Branching Logic: Clear separation between offline and online submission paths
- Foundation for Error Handling: Structure ready for try/catch blocks
- Placeholder Comments: Clear indicators of what we'll implement in each branch
3.2: Implement Offline Submission
Now let's implement the offline submission path with proper error handling:
if (isOffline) {
  // Offline: Save status as "Not Submitted" locally
  try {
    await tripCollection.update({
      id: trip.id,
      status: "Not Submitted",
      step: 4, // Mark as completed step 4 (review)
    });
    navigate("/offline-confirm");
  } catch (error) {
    console.error("Error saving trip offline:", error);
    setError("Failed to save trip for offline submission. Please try again.");
  }
} else {
  // Online: Attempt to submit to the backend
  // We'll implement this in subsequent steps
}
Understanding Offline Submission:
- Status Setting: Mark as "Not Submitted" to indicate it needs server submission later
- Step Tracking: Set step to 4 to mark the review process as complete
- Error Handling: Catch and display user-friendly error messages
- Navigation: Direct to offline confirmation page
3.3: Prepare Server Submission Data
Let's add the data preparation logic for server submission. The catches state variable is already available from Lesson 6:
} else {
  // Online: Attempt to submit to the backend
  try {
    // Prepare submission data with trip and associated catches
    const submissionData = {
      trip: trip,
      catches: catches,
    };
    // Server request will be added in next step
  } catch (error) {
    // Error handling will be completed in next step
    console.error("Error submitting trip online:", error);
  }
}
Data Structure Overview:
The server receives a comprehensive JSON object containing:
- trip: Complete trip details (dates, times, weather, status)
- catches: Array of all associated catch records for the trip
3.4: Implement Server Request
Now let's add the actual server request using the fetch API:
  } else {
    // Online: Attempt to submit to the backend
    try {
      // Prepare submission data with trip and associated catches
      const submissionData = {
        trip: trip,
        catches: catches,
      };

      const response = await fetch("/api/trips", {
        method: "POST",
        headers: {
          "Content-Type": "application/json",
        },
        body: JSON.stringify(submissionData),
      });

      if (!response.ok) {
        const status = response.status;
        const statusText = response.statusText ? response.statusText.trim() : "";
        const errorDetail = statusText
          ? `${status} ${statusText}`
          : `${status} Server error occurred`;

        console.error("Server submission failed:", errorDetail);
        setError(`Server submission failed: ${errorDetail}`);
        return;
      }
    } catch (error) {
      // Error handling will be completed in next step
      console.error("Error submitting trip online:", error);
    }
  }
};

// Success handling will be added in next step
Understanding the Server Request:
- Endpoint:
/api/trips(proxied to JSON server at port 3002) - Method: POST to create a new trip record
- Headers: Content-Type specifies JSON data
- Body: Stringified submission data object
- Error Handling: Check response status and provide detailed error messages
3.5: Handle Server Success
Finally, let's implement the success path when server submission completes:
    } else {
      try {
        const submissionData = {
          trip: trip,
          catches: catches,
        };

        const response = await fetch("/api/trips", {
          method: "POST",
          headers: {
            "Content-Type": "application/json",
          },
          body: JSON.stringify(submissionData),
        });

        if (!response.ok) {
          const status = response.status;
          const statusText = response.statusText
            ? response.statusText.trim()
            : "";
          const errorDetail = statusText
            ? `${status} ${statusText}`
            : `${status} Server error occurred`;

          console.error("Server submission failed:", errorDetail);
          setError(`Server submission failed: ${errorDetail}`);
          return;
        }

        // If server submission is successful, update local status to "submitted"
        await tripCollection.update({
          id: trip.id,
          status: "submitted",
          step: 4,
        });
        navigate("/online-confirm");
      } catch (error) {
        // Error handling will be completed in next step
        console.error("Error submitting trip online:", error);
        // Catch network errors or other issues with the fetch call
        console.error("Error submitting trip online:", error);
        setError(
          "Failed to submit trip. Check your internet connection or try saving offline.",
        );
      }
Complete Implementation Summary:
Now that we've implemented all the steps, here's what our enhanced submission logic accomplishes:
- Offline Path: Simple local save with "Not Submitted" status and proper error handling
- Online Path:
- Prepare submission data combining trip details and associated catches
- Submit complete data structure to server using fetch API
- Handle detailed error responses with status codes and messages
- If successful: Update local status to "submitted"
- If server fails: Display error message to user
- Progressive Enhancement: Each step builds upon the previous one, making it easier to debug and understand
Step 4: Testing Server Submission
4.1: Test Online Submission
Continuing from lesson 6 where we saved a trip offline, let's now test submitting it online:
-
Ensure JSON server is running: Check that
npm run serveris still active in your terminal -
Navigate to the Home page: You should see one trip with status "READY TO SUBMIT" (from lesson 6)
-
Change network settings: In browser dev tools (F12), go to Network tab and change from "Offline" to "No throttling"
-
Click on the saved trip: This will take you back to the Review and Submit page
-
Verify online status: You should now see the green "Submit" button instead of the blue "Save" button
-
Click the Submit button: Submit the trip to the server
-
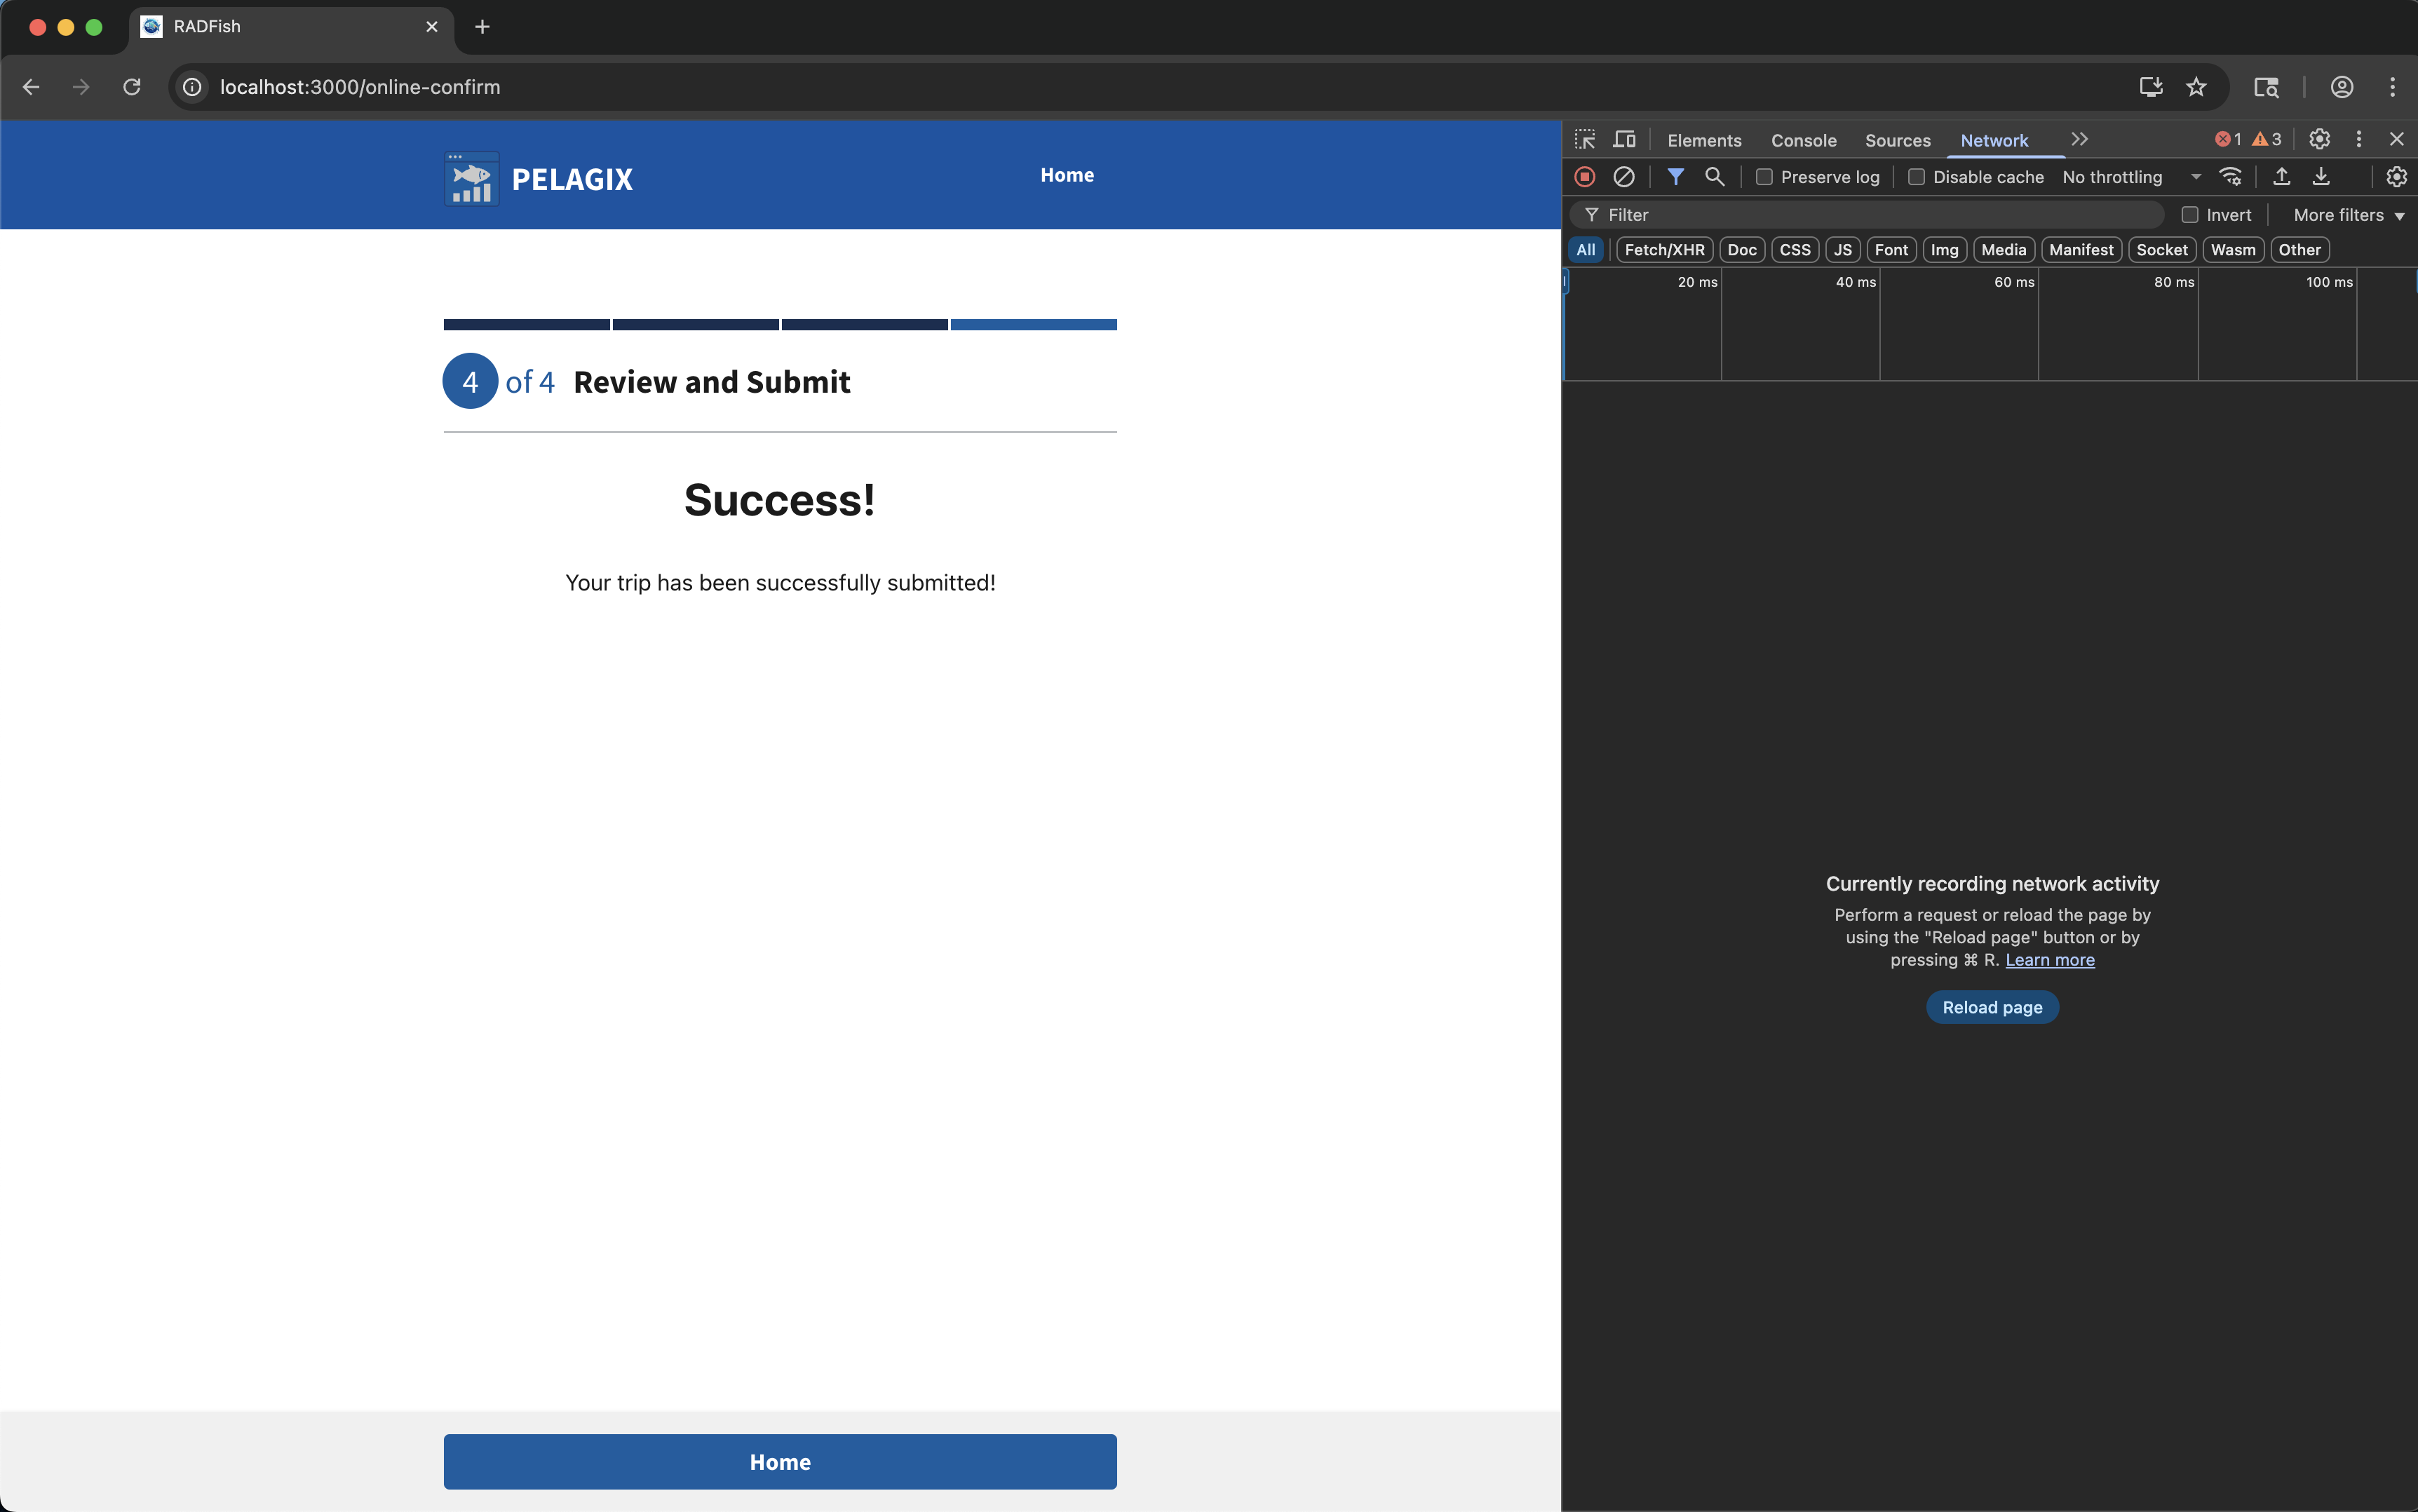
View success page: You should see the success confirmation:
-
Check server data: Open a new browser tab and navigate to
http://localhost:3002/trips- You should see your submitted trip data in JSON format
- See Step 5: Viewing Submitted Data for the complete data structure
-
Return to the app: Go back to your app tab and click the Home button
-
Verify submitted status: Your trip should now show with "SUBMITTED" status:

Expected Results:
- Trip data appears in the JSON server at
http://localhost:3002/trips - User is navigated to
/online-confirmsuccess page - Local storage shows status as "submitted"
- Trip card on homepage displays green "SUBMITTED" status
4.2: Test Offline Mode
Let's test creating a new trip entirely offline:
- Go offline: Use browser dev tools (F12 → Network → Offline)
- Start from Home: Navigate to the Home page and click "Start New Trip"
- Complete the trip workflow:
- Fill out the Start Trip form
- Add catches in the Catch Log
- Complete the End Trip form
- Navigate to the Review page
- Verify offline status: Notice the blue "Save" button appears instead of green "Submit"
- Click save: Trip should save locally as "Not Submitted"
- Return to Home: Click the Home button to see your trip with "READY TO SUBMIT" status
- Check server: Open a new tab to
http://localhost:3002/trips- no new data should appear
4.3: Test Server Failure Gracefully
- Stop the JSON server: Terminate the
npm run serverprocess - Try to submit online: The app should detect server failure
- Verify fallback: Should save locally as "Not Submitted" and show error message
Expected Behavior:
- ✅ Graceful degradation when server is unavailable
- ✅ User feedback about server status
- ✅ Data never lost - always saved locally
Step 5: Viewing Submitted Data
5.1: Inspect Server Data
Visit http://localhost:3002/trips in your browser to see all submitted trips in JSON format:
[
  {
    "trip": {
      "id": "123e4567-e89b-12d3-a456-426614174000",
      "tripDate": "2024-01-15",
      "startTime": "06:00",
      "startWeather": "Sunny",
      "endTime": "14:00",
      "endWeather": "Cloudy",
      "status": "submitted"
    },
    "catches": [
      {
        "species": "Bass",
        "weight": 3.5,
        "length": 14,
        "tripId": "123e4567-e89b-12d3-a456-426614174000"
      }
    ],
    "id": 1
  }
]
5.2: Monitor Local vs Server Data
Compare what's stored locally (IndexedDB) versus what's submitted to the server:
- Local data: Always present for offline capability
- Server data: Only present for successfully submitted trips
- Status field: Indicates whether trip needs server submission
Conclusion
You have successfully implemented a robust submission system that handles both online and offline scenarios! Your RADFish application now:
Key Accomplishments:
- Dual-mode submission: Automatically submits to server when online, saves locally when offline
- Graceful degradation: Falls back to offline mode when server is unavailable
- Data persistence: Ensures user data is never lost regardless of connectivity
- User feedback: Provides clear visual indicators of submission status
- Error handling: Manages server failures without breaking the user experience
Your application now provides a production-ready experience that works reliably in any network condition, making it suitable for field work where connectivity may be intermittent.